


こんにちは!Popoです。
この記事を読むと「Angularでの画面遷移」が解決できます。
前回、Angularについて勉強しました。

スマフォアプリの場合、色々な画面に遷移をして各画面に実装されている機能を使用したりします。

Web画面での画面遷移てどうやってやるんだろう?
画面遷移というのは、アプリケーションを開発する上で避けては通れません🤔
これは必ずマスターしておきたい機能です!

画面遷移!抑えておかねば!!
早速、画面遷移を勉強してみたいと思います。
今までの続きから始めますので、環境構築等がまだの方は下記記事を参考にしてください。


Angular、TypeScriptの動作環境

今回開発時の環境ソフトのバージョンです。
| 項目 | バージョン |
| Node | v18.17.0 |
| TypeScript | Version 5.1.6 |
| OS | Windows 11 |
| VSCode | version1.81.0 |
| Angular CLI | 16.2.0 |
Angularのルータて何?

Swiftの場合、UINavigationControllerを利用してViewContorollerをプッシュさせたり、backでポップさせたりして画画面遷移を行っています。(他にも方法はあります。)
Angularの場合は、コンポーネントを組み合わせて画面を構成しているため、このコンポーネントを入れ替えることで画面遷移を表現しています。
この機能はルーティングと呼ばれ、RouterModuleによって提供されます。
ルート設定
プロジェクトを作成してRouterModuleを利用する場合、地図となるルートを記述する必要があります。(下記は参考ロジックです)
import { NgModule } from '@angular/core';
import { RouterModule, Routes } from '@angular/router';
// RouterModuleとRoutes型をインポート
import { LoginComponent }  from './screen1/screen1.component';
// サンプル用コンポーネント screen1
import { MenuComponent }  from './screen2/screen2.component';
// サンプル用コンポーネント screen2

const routes: Routes = [
  { path: 'screen2', component: screen2Component },
 // http://localhost:3000/screen2 にアクセスされたらscreen2Component を表示する
  { path: '', redirectTo: 'screen1', pathMatch: 'full' },
 // 以外のURLにアクセスされたら screen1Component を表示する
  { path: 'screen1', component: screen1Component }
 // http://localhost:3000/screen1 にアクセスされたらscreen1Component を表示する
];

@NgModule({
  imports: [RouterModule.forRoot(routes)],
  exports: [RouterModule]
})
export class AppRoutingModule { }
ルート型(「const routes: Routes」)は配列になっています。この配列に指定された順番通りに優先順位が決まります。
スクリプトで何かしらの処理を行った場合に遷移させたい場合は、「navigate」メソッドを使用します。
 <div class="container">
    <h1>screen1</h1>
    <form (ngSubmit)="onSubmit()" #screen1Form="ngForm">
        <table>
            <tr>
                <td><label for="id">入力欄</label></td>
                <td><input type="text" id="id" required [(ngModel)]="model.input1" name="input1" #idValid="ngModel">
                    <span [hidden]="idValid.valid || idValid.pristine">
                        入力して下さい。
                    </span>
                </td>
            </tr>
        </table>
        <button type="submit" [disabled]="!screen1Form.form.valid">入力</button>
        <br /> {{model.message}}
    </form>
</div>
import { Component } from '@angular/core';
import { Router } from '@angular/router'
import { Screen1Model } from './Screen1Model';
@Component({
selector: 'app-screen1',
templateUrl: './screen1.component.html',
styleUrls: ['./screen1.component.css']
})
export class Screen1Component {
model = new Screen1Model('', '');
constructor(private router: Router) { }
ngOnInit(): void {
}
onSubmit(): void {
if (this.model.input1 == "test") {
this.router.navigate(['screen2']);
} else {
this.model.message = "入力エラー";
}
}
}Angularのプロジェクトを作成してみよう

はじめにプロジェクトを作成します。
前回Angularのプロジェクトを作成した時は、下記のコマンドでした。
ng new <プロジェクト名>今回は下記になります。「–routing」のオプションを追加します。
ng new プロジェクト名 --routing結構時間がかかります。
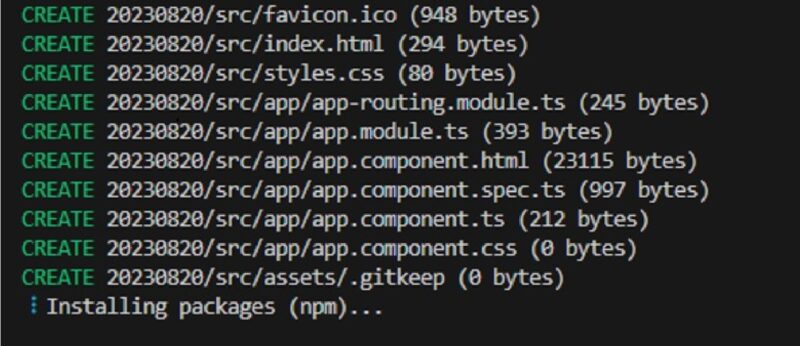
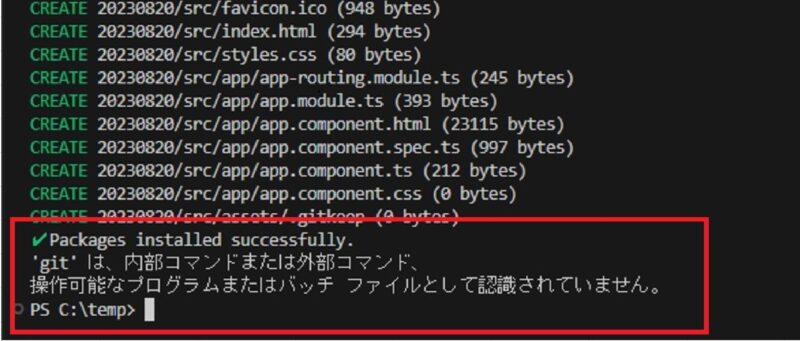
「git」はインストールしていないのでエラーになっています。
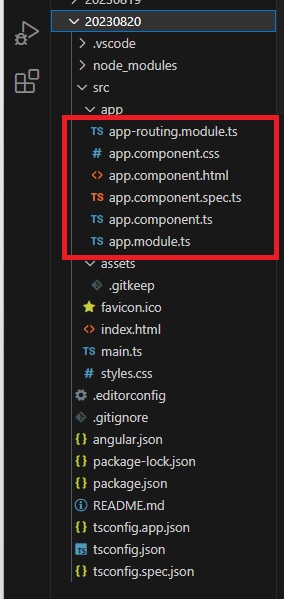
自動的に必要なファイルが作成されます。
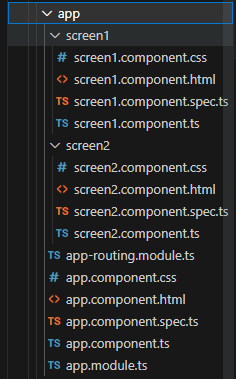
各画面のコンポーネントを作成してみましょう。
ng generate component screen1
ng generate component screen2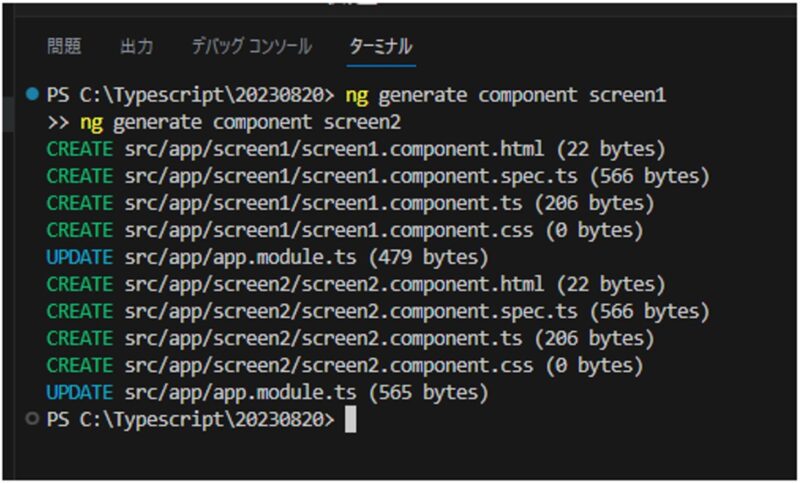
サクッと作成できました。
下記エラーが発生場合は、前回記事の「サーバー起動」を参照してください。
Xcodeの場合、UIでプロジェクトを作成できますが、TypeScriptの場合はコマンド入力で作成になります。
少し面倒ですね!
実際にアプリケーションを開発してみましょう!

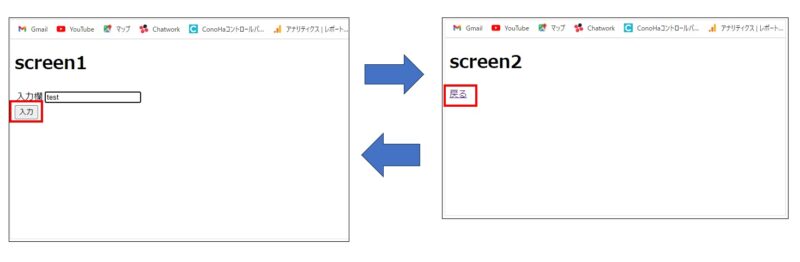
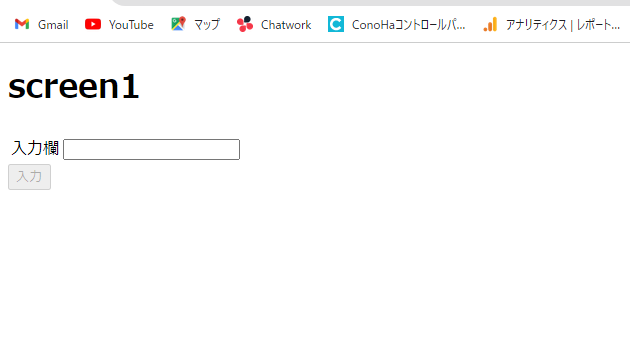
それでは、画面遷移するアプリケーションを作成してみましょう。
簡単な画面ですが、Screen1画面で「test」という文字列を入力して「入力」ボタンを押下すると、Screen2画面に遷移する遷移になります。
Screen1画面関連
はじめにメインとなるScreen1画面を作成していきましょう。
src\app\screen1\Screen1Model.ts
入力画面のモデルクラス「Screen1Model」を新規に作成します。
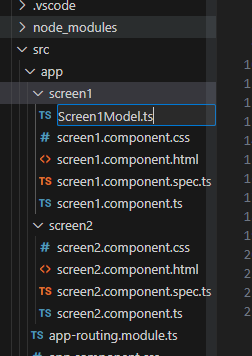
中身は下記の通り。入力テキストとメッセージ項目を定義します。
export class Screen1Model {
constructor(
public input1: string,
public message?: string
) { }
}src\app\screen1\screen1.component.ts
入力画面コンポーネントに処理と画面遷移の処理を追加します。
import { Component } from '@angular/core';
import { Router } from '@angular/router'
import { Screen1Model } from './Screen1Model';

@Component({
  selector: 'app-screen1',
  templateUrl: './screen1.component.html',
  styleUrls: ['./screen1.component.css']
})
export class Screen1Component {

  model = new Screen1Model('', '');

  constructor(private router: Router) { }

  ngOnInit(): void {
  }

  onSubmit(): void {
    if (this.model.input1 == "test") {
      this.router.navigate(['screen2']);
    } else {
      this.model.message = "入力エラー";
    }
  }
}src\app\login\login.component.html
入力画面は、自動で生成されたhtmlファイルを修正します。
<div class="container">
    <h1>screen1</h1>
    <form (ngSubmit)="onSubmit()" #screen1Form="ngForm">
        <table>
            <tr>
                <td><label for="id">入力欄</label></td>
                <td><input type="text" id="id" required [(ngModel)]="model.input1" name="input1" #idValid="ngModel">
                    <span [hidden]="idValid.valid || idValid.pristine">
                        入力して下さい。
                    </span>
                </td>
            </tr>
        </table>
        <button type="submit" [disabled]="!screen1Form.form.valid">入力</button>
        <br /> {{model.message}}
    </form>
</div>
src\app\app.module.ts
テンプレート駆動フォームを使用するので@NgModuleにFormsModuleを追加します。
Angular には2つのフォームスタイルがありますが、今回はテンプレート駆動フォームを使用してみます。
import { NgModule } from '@angular/core';
import { BrowserModule } from '@angular/platform-browser';
import { FormsModule }   from '@angular/forms';
import { AppRoutingModule } from './app-routing.module';
import { AppComponent } from './app.component';
import { Screen1Component } from './screen1/screen1.component';
import { Screen2Component } from './screen2/screen2.component';

@NgModule({
  declarations: [
    AppComponent,
    Screen1Component,
    Screen2Component
  ],
  imports: [
    BrowserModule,
    AppRoutingModule,
    FormsModule
  ],
  providers: [],
  bootstrap: [AppComponent]
})
export class AppModule { }
Screen2画面関連
次にScreen2画面を作成してみます。
戻るボタン押下でScreen1画面に遷移します。
src\app\screen2\screen2.component.ts
「入力」ボタン押下後は、「戻る」ボタン表示だけの画面にしました。
import { Component, OnInit } from '@angular/core';

@Component({
  selector: 'app-screen2',
  template:'<h1>screen2</h1><a routerLink="/screen1">戻る</a>'
})
export class Screen2Component implements OnInit {

  constructor() { }

  ngOnInit(): void {
  }

}
ルーター機能関連
Angularでの画面遷移機能で重要なルータ機能部分のロジックを実装してみましょう。
src\app\app.component.ts
「template」に「router-outlet」を設定します。
import { Component } from '@angular/core';

@Component({
  selector: 'app-root',
  template: '<router-outlet></router-outlet>'
})
export class AppComponent {
}
src\app\app-routing.module.ts
ルータ情報を設定します。
import { NgModule } from '@angular/core';
import { RouterModule, Routes } from '@angular/router';
import { Screen1Component }  from './screen1/screen1.component';
import { Screen2Component }  from './screen2/screen2.component';

const routes: Routes = [
  { path: 'screen2', component: Screen2Component },
  { path: '', redirectTo: 'screen1', pathMatch: 'full' },
  { path: 'screen1', component: Screen1Component }
];

@NgModule({
  imports: [RouterModule.forRoot(routes)],
  exports: [RouterModule]
})
export class AppRoutingModule { }
実行
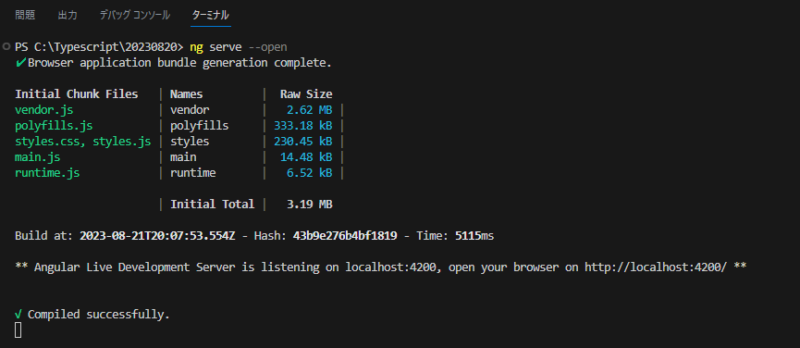
それでは、web画面を表示してみましょう!
ターミナルから下記コマンドを入力します。
ng serve --openコンパイルが正常終了すると、「Compiled successfully.」が表示されweb画面が表示されます。
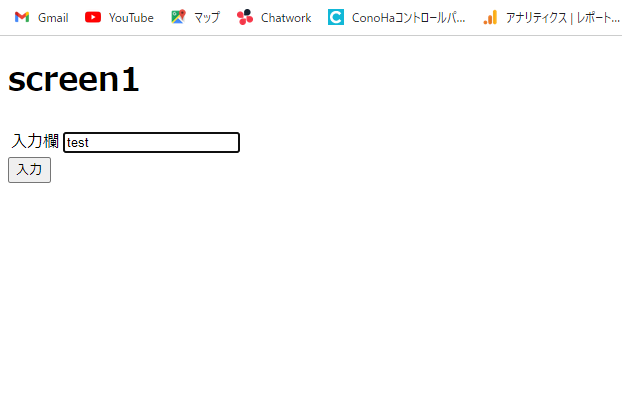
「test」を入力して入力ボタンを押下すると次画面に遷移します。
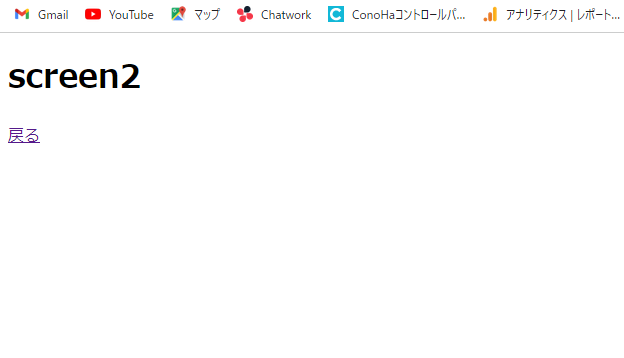
「戻る」ボタン押下で前画面に戻ります。
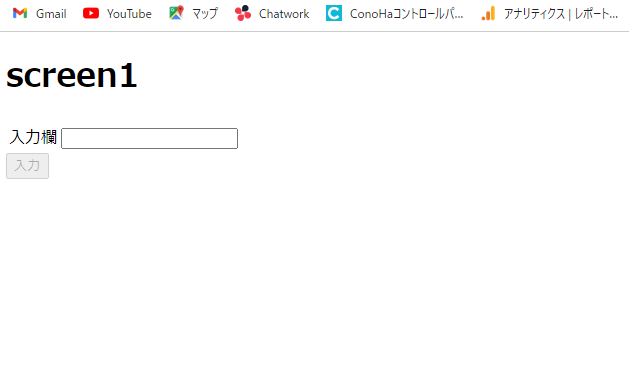
「test」以外の入力はエラーになります。

できました!
まとめ

今回はAngularで画面遷移を実装してみました。肝となるのはルータ機能です。
Angularでの画面遷移はルータ機能を利用!
値等も引き継ぐことができるようなので、一度実装してみたいと思っています。
ついついSwiftと比べてしまうのですが、Angularはファイル数が多いですね。😓
Objective-Cといった感じですね!
Objective-CからSwiftに移行して、ヘッダーファイルが無くなりすっきりしました。
TypeScriptをやっていると、Objective-Cに戻った感覚があります!😱
でもそれはそれ!TypeScriptはTypeScriptでしっかり勉強していきたいと思っています。
それではまた!


